CRAFT & PROCESS

Twelve gates from clay to crate

Every SparkJoy figure passes through twelve stages and more than forty hand operations before it ships. None of them can be skipped, and each exists because the stage before it demands it. This is the full route — first sketch to numbered crate.

Some stages below are shown in real workshop photographs; the remaining stages use concept visuals, which will be replaced as photography is completed.

01DESIGN

Where every decision is still cheap

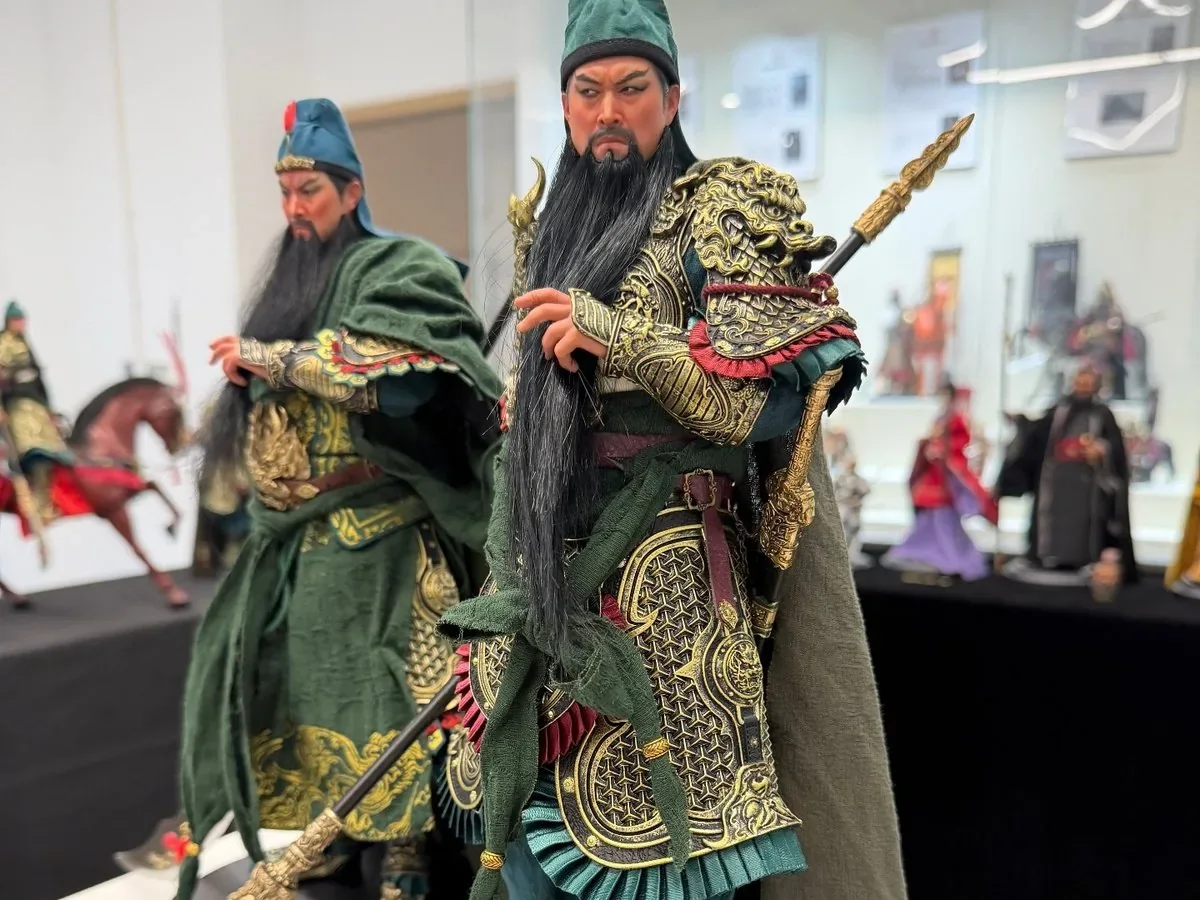
Photograph: two finished Guan Yu collector figures in green robes and gold armour on a show table

01WEEK 1–2

Concept & Reference

Every figure starts as an argument about history.

We gather opera costumes, temple statuary, murals and film stills, then draw the pose, the armour layers and the damage grade on paper before anything is modelled. If a detail cannot be justified, it does not get sculpted.
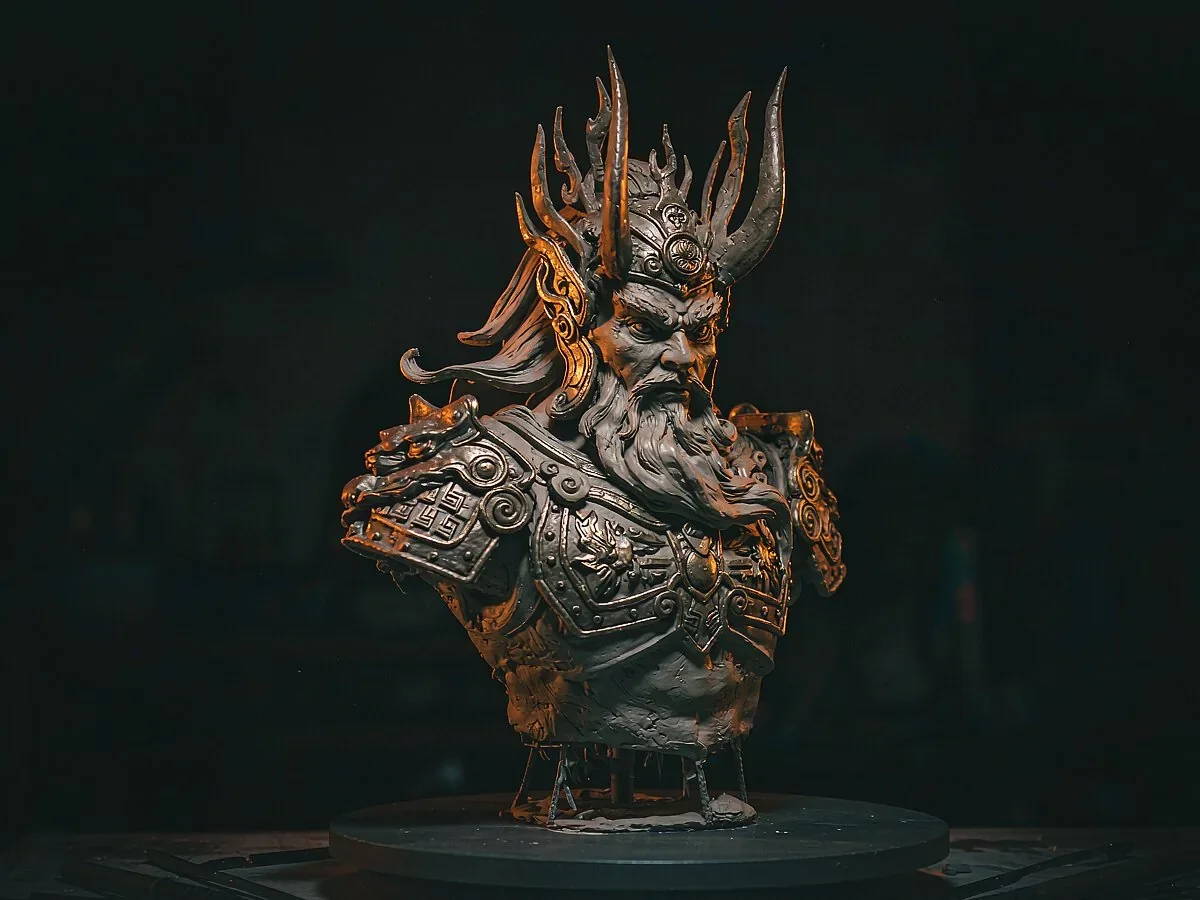

Concept visual: clay figure on a turntable with sculpting tools

0230+ HRS PER FIGURE

Hand Sculpt

Clay first, always.

The prototype is sculpted by hand in oil-based clay over a wire armature — faces, cloth folds, chainmail, everything. No digital sculpt goes straight to tooling: if a detail cannot survive in clay, it will not survive in resin.

Concept visual: point-cloud 3D scan of a figure head inside a scanning frame

030.05 MM TOLERANCE

3D Scan & Scale

The clay becomes data — but the clay keeps the final word.

The approved sculpt is scanned at 0.05 mm resolution for mould engineering and scale checks against the 1/6 or 1/12 reference. Scans correct the master — never the other way around.

02TOOLING

The mould decides everything

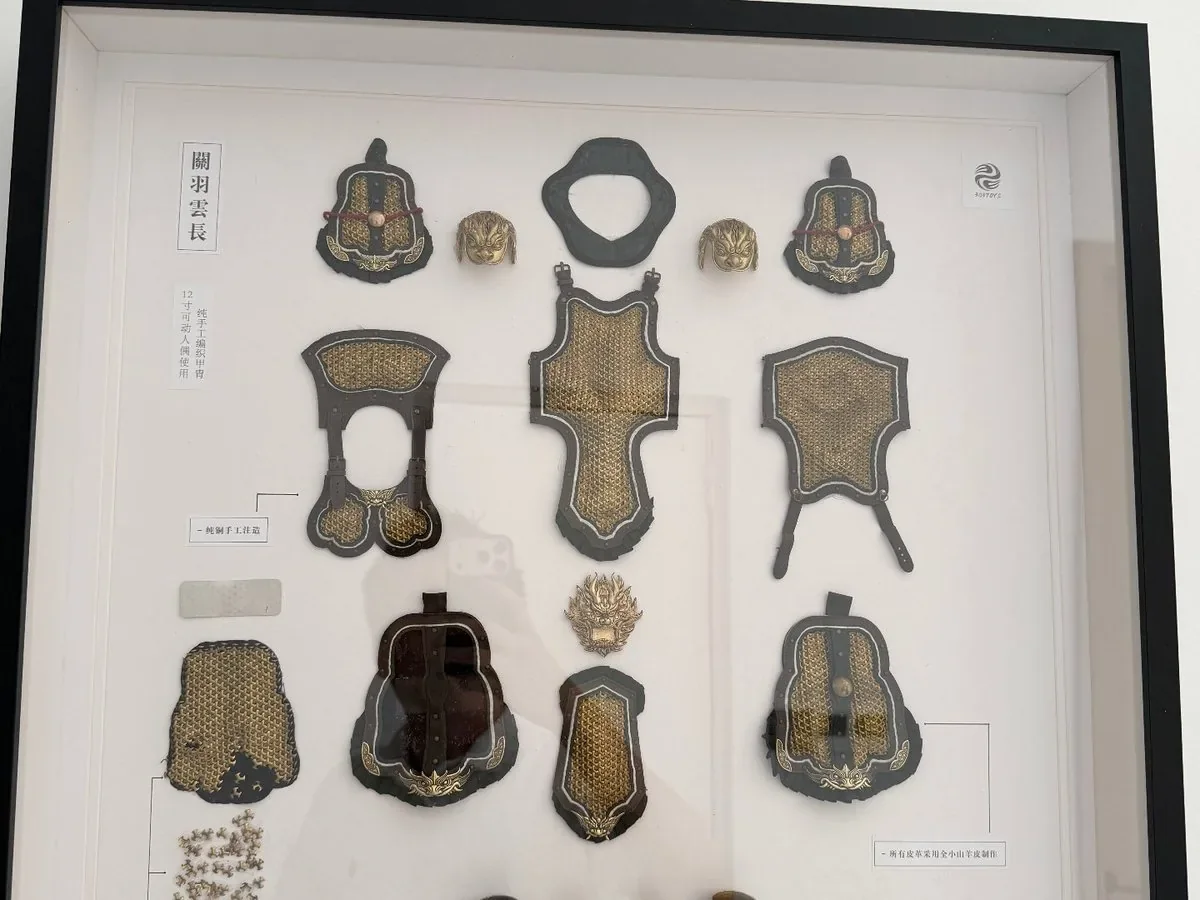
Photograph: framed display of Guan Yu armour parts — plates, under-armour and greaves laid out with annotation labels

0440–60 PARTS

Part Breakdown

One figure, dozens of parts.

The sculpt is dissected — head, torso, limbs, armour plates, weapon, base — so every undercut can release and every seam lands where battle damage will hide it.

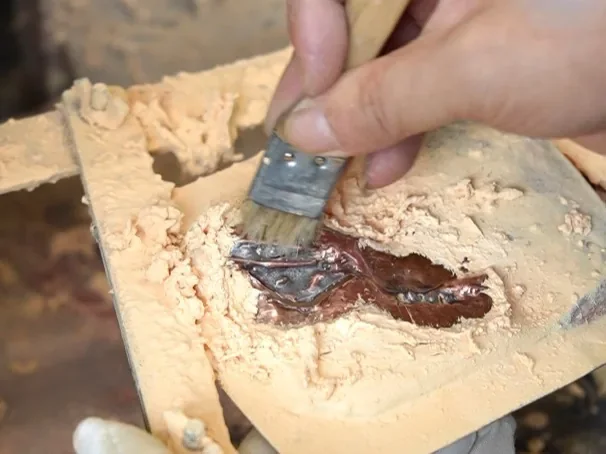
Factory photo: a brush works casting material inside a mould frame

0525–100 PULLS PER MOULD

Silicone Mould

RTV silicone, cut open by hand.

Liquid silicone is poured around each master part, cured, then cut open with a blade. Every mould yields a limited number of casts before it loses detail — one of the reasons our runs stay short.

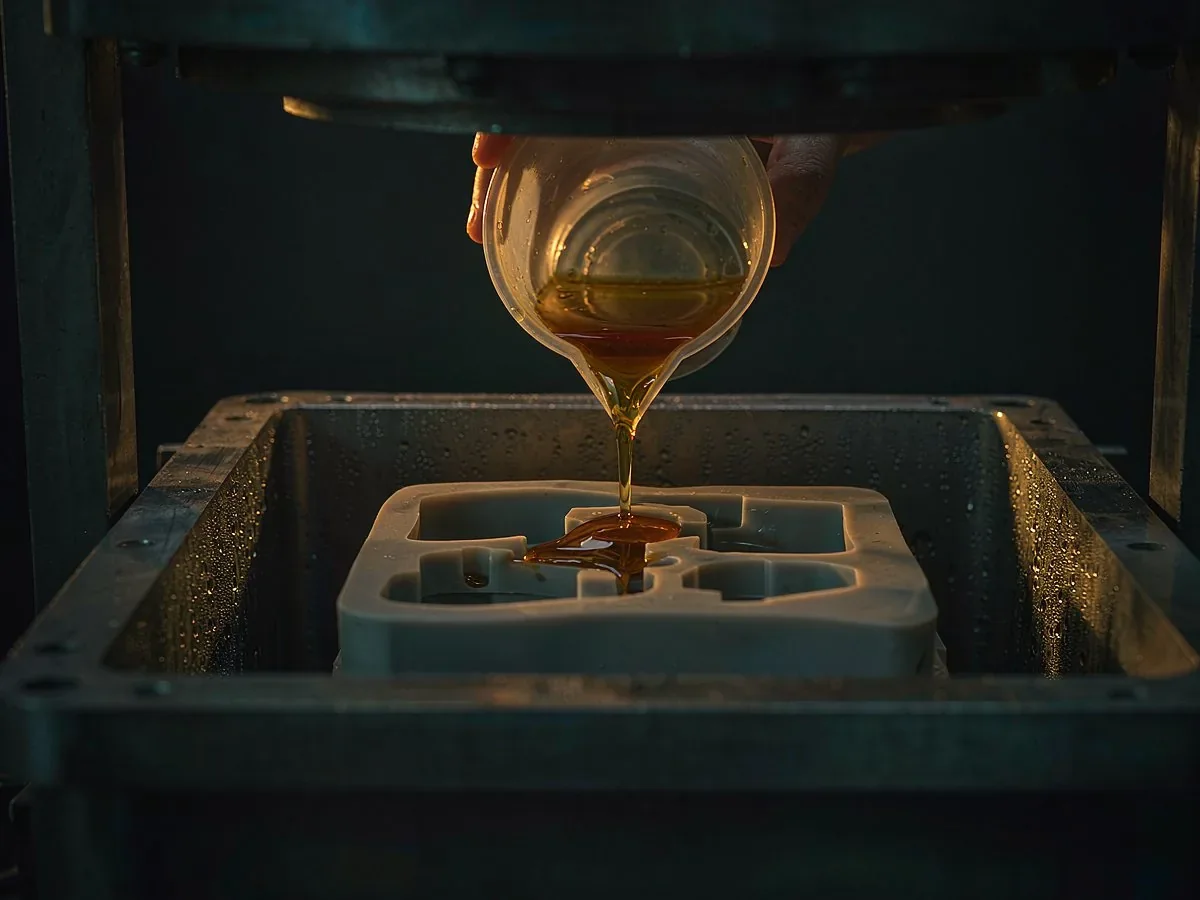
Concept visual: resin poured into a mould inside a pressure tank

0620–40 MIN CURE

Pressure Casting

Vacuum first, pressure second.

Two-part resin is mixed, degassed in a vacuum chamber, poured into the mould and cured inside a pressure tank so microscopic bubbles collapse. What comes out is a white blank, heavy as stone.

03SURFACE

A blank is not a figure yet

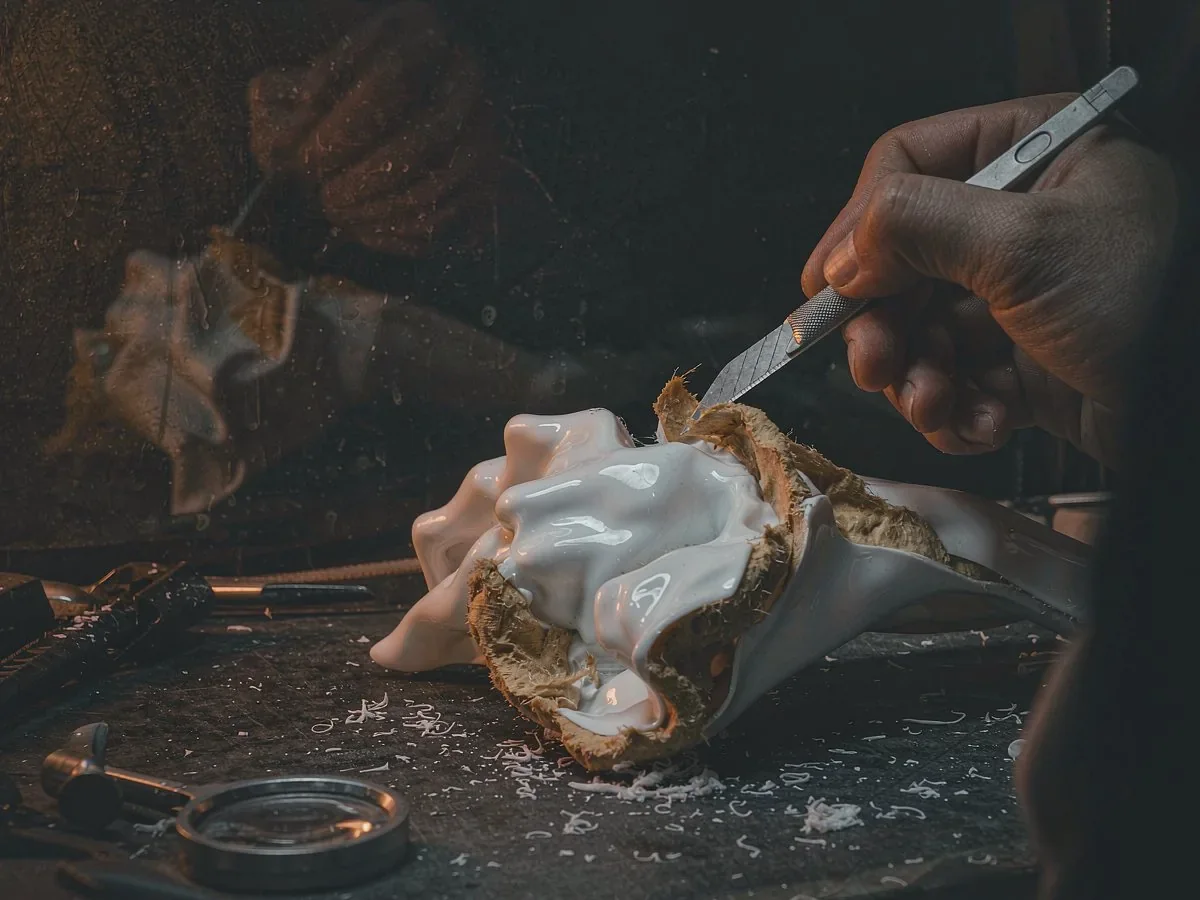
Concept visual: a cast part with flash lines being trimmed with a blade

07EVERY PART, BY HAND

Demould & Deflash

Every part is cut free with a blade.

Castings come out with seam lines and flash along the parting line. Each part is trimmed by hand — no batch skips — because a hidden seam that survives this stage survives forever.

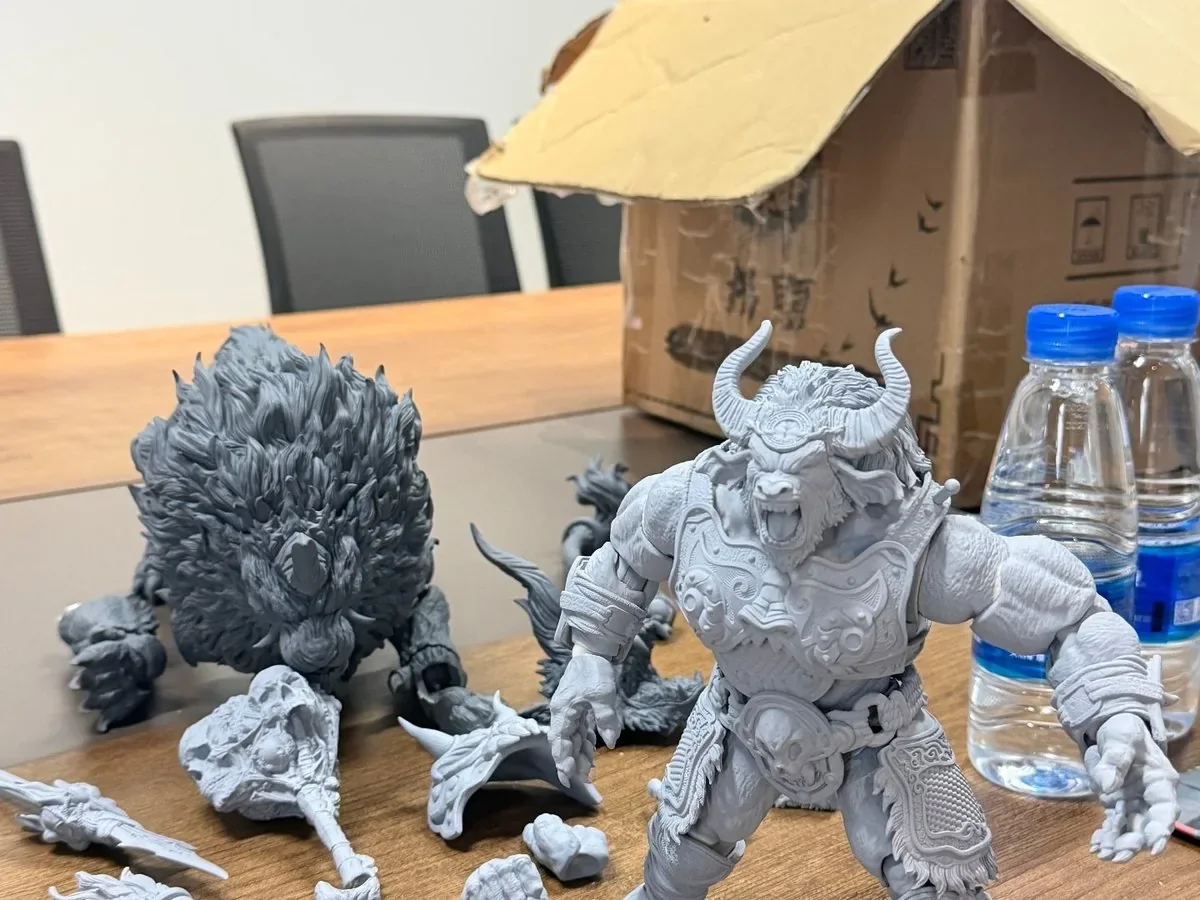
Photograph: unpainted grey resin sculpt parts of mythic warrior figures laid out on a workbench

08#400 → #2000 GRIT

Sanding & Dry Fit

Parts must prove they fit before paint.

Parts are sanded through progressively finer grits, then dry-fitted onto steel pins. Gaps are filled and re-sanded until the figure closes with no visible joint.

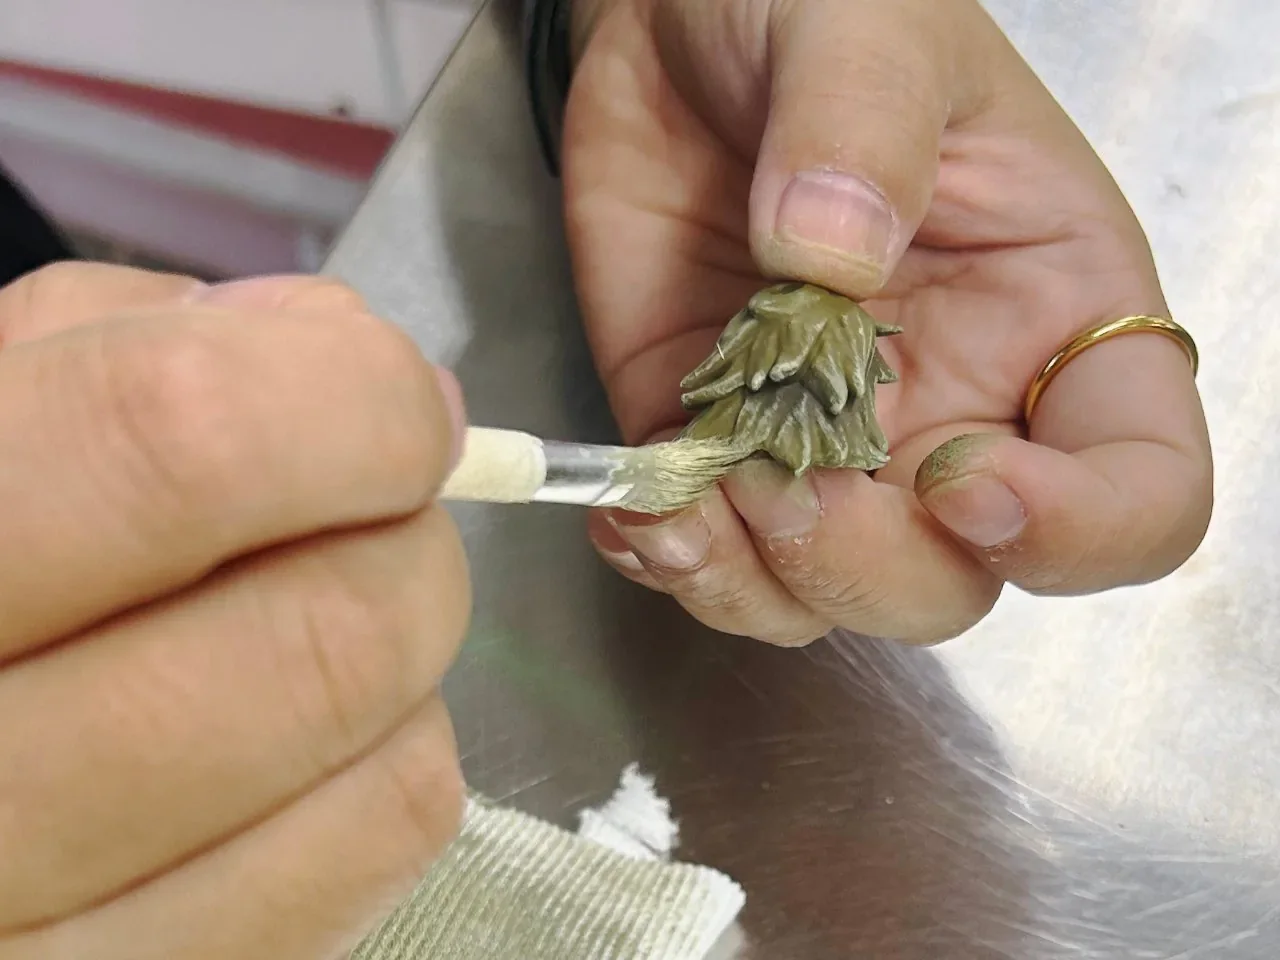
Factory photo: a raw part receives brush-applied base coats

09HVLP 0.3 MM

Primer

Grey before colour.

A thin primer coat is sprayed onto every part. Primer reveals every flaw the sanding missed — so we sand again. Only flawless grey parts move to the paint bench.

04LIFE

Where the figure becomes someone

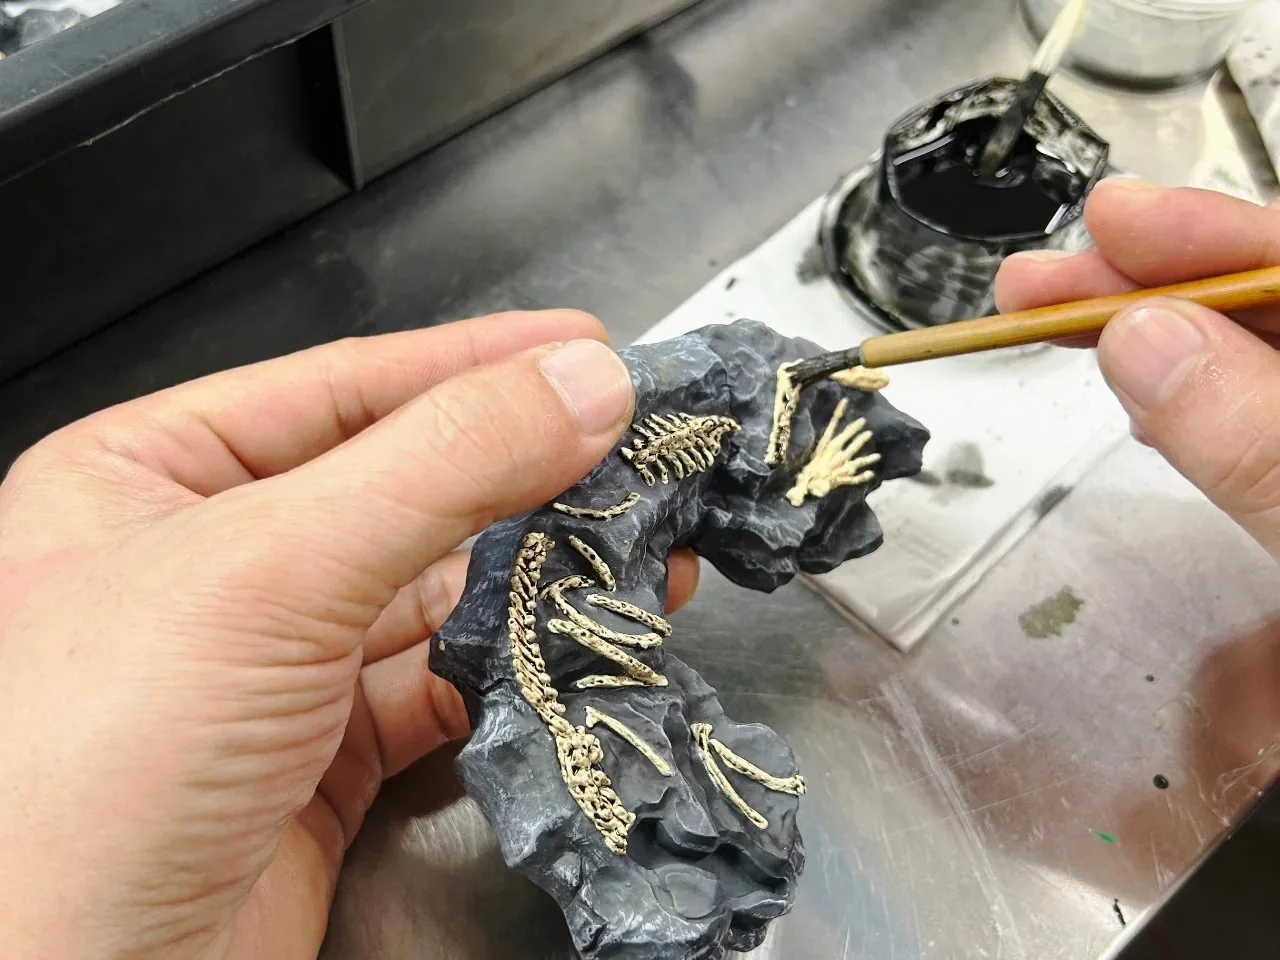
Factory photo: a fine brush paints gold bone details on a rock-textured base

1010+ LAYERS

Hand Painting

Washes, layers, dry-brushing — by hand, every unit.

Colour goes on in thin layers: base coats, translucent washes into the recesses, dry-brushed highlights along the edges. Faces get the most time — eyes are painted under magnification, one unit at a time.

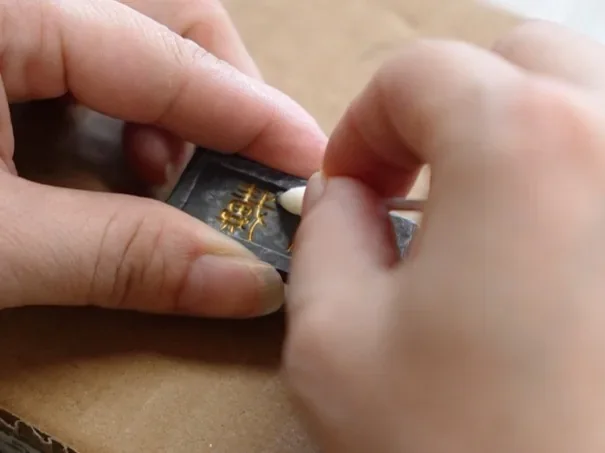
Factory photo: a cotton swab applies gold finishing to a seal plaque

11BY DAMAGE GRADE

Weathering & Real Materials

Cloth, leather and metal — then everything gets dirty the same way.

Capes and robes are cut and sewn from real fabric; bracers and straps from real leather with metal hardware. Once assembled, the whole figure is weathered together, so the dirt on the cloth and the dirt on the resin belong to the same battle.

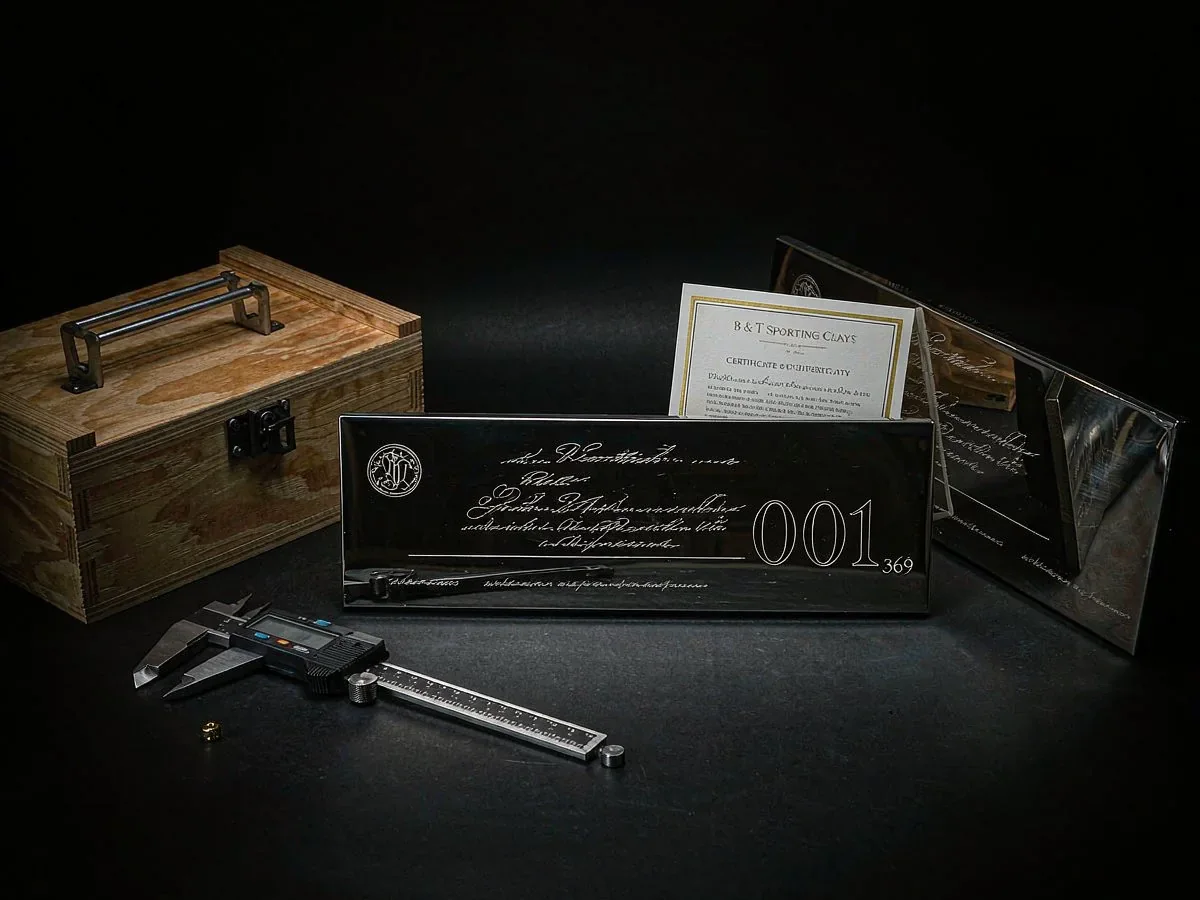
Concept visual: engraved numbering plate, certificate, caliper and shipping crate

12001 / 369

Numbering, QC & Crating

The last gate.

Every base receives its engraved metal plate; every figure is inspected against the approved master, photographed and packed with its certificate. When a run sells out, the moulds are archived — no restocks.